Gingham Pattern Paper SVG
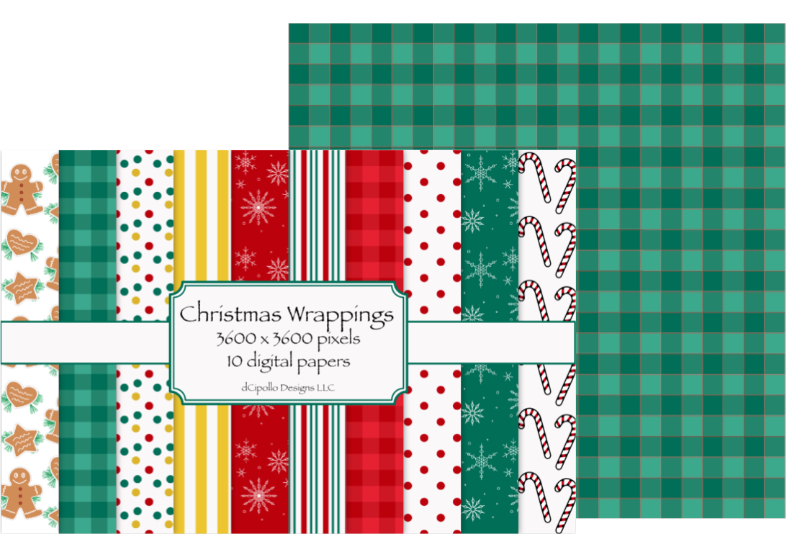
In this Affinity® Designer tutorial, we will create a gingham plaid digital paper. Digital papers and pattern fills svgs are usually 12 x 12 inches at 300 dpi. First we will create the repeating tile that will make up the pattern. The tile will be a one inch square and it will have three colors of green that will make up the gingham pattern.
We will start a new document that will be 12 x 12 inches and 300 dpi. We will use the grid to help us draw the gingham squares.
Let's save our new pattern in several formats.
jpeg and png for scrapbooking
pdf and svg for cutting machine
Affinity Designer screenshots used by permission of Serif® (Europe) Ltd. This article is not endorsed by Serif Ltd.
We will start a new document that will be 12 x 12 inches and 300 dpi. We will use the grid to help us draw the gingham squares.
- Open Affinity Designer and set the Width and Height for our document to 12 inches. Set the DPI to 300 (see screenshot).
- From the top menu, click View - Show Grid to turn on the grid. The default setting should have 1/2 inch squares in the grid.
- With the Rectangle tool, set the Fill color to a dark green (016f57) and the Stroke color to Null (see screenshot).
- Draw a .5 inch square with this dark green color at the top corner of the canvas.
- Change the Fill color to a medium green color ( 24856D) and draw a second square to the right of the first.
- With the same Fill color, draw a third square under the first.
- Change the Fill color to a light green (3ca88c) and draw a fourth square under the second square.
- In the Layers panel, select the four layers, right-click and choose Group.
- With the square tile selected, click Edit - Duplicate. Drag the duplicate tile to the right of the first and with the edges touching.
- Now click Edit - Duplicate again and you should get a new tile next to the last.
- Repeat the previous step to fill the entire row with the pattern tile (see screenshot).
- In the Layers panel, select all of the layers and group them.
- With the group still selected, duplicate the row and place it under the original row.
- Continue to duplicate the row until the canvas is full (see screenshot).
- In the Layers panel, group all of the rows.
We will draw four squares that will make up the repeat pattern.
Now that we have the tile for our repeat (see screenshot), we will build the first row of the gingham pattern.
Now we will group all of these tiles into one row. Then we will duplicate this row to fill the entire canvas.
Let's save our new pattern in several formats.
jpeg and png for scrapbooking
pdf and svg for cutting machine
Affinity Designer screenshots used by permission of Serif® (Europe) Ltd. This article is not endorsed by Serif Ltd.

Related Articles
Editor's Picks Articles
Top Ten Articles
Previous Features
Site Map
Content copyright © 2023 by Diane Cipollo. All rights reserved.
This content was written by Diane Cipollo. If you wish to use this content in any manner, you need written permission. Contact Diane Cipollo for details.


